 Loading...
How to Change a Home Air Filter
The quickest and most straightforward approach to improve the effectiveness of your HVAC system and enhance the air quality in your home is to change the filter. It usually takes five to ten minutes to replace the filter. Before you are ready to replace your filter, you need to get the right size filter for your system. There are six simple steps to replace your filter:
- Turn off the HVAC System
Turn the thermostat to "off" position before changing the filter to avoid the HVAC system starting up at that time. This will guard against loose particles or perhaps a loose filter fitting leaking into the duct and damaging your HVAC system. Disconnect the electricity to your furnace system while performing maintenance for maximum safety.
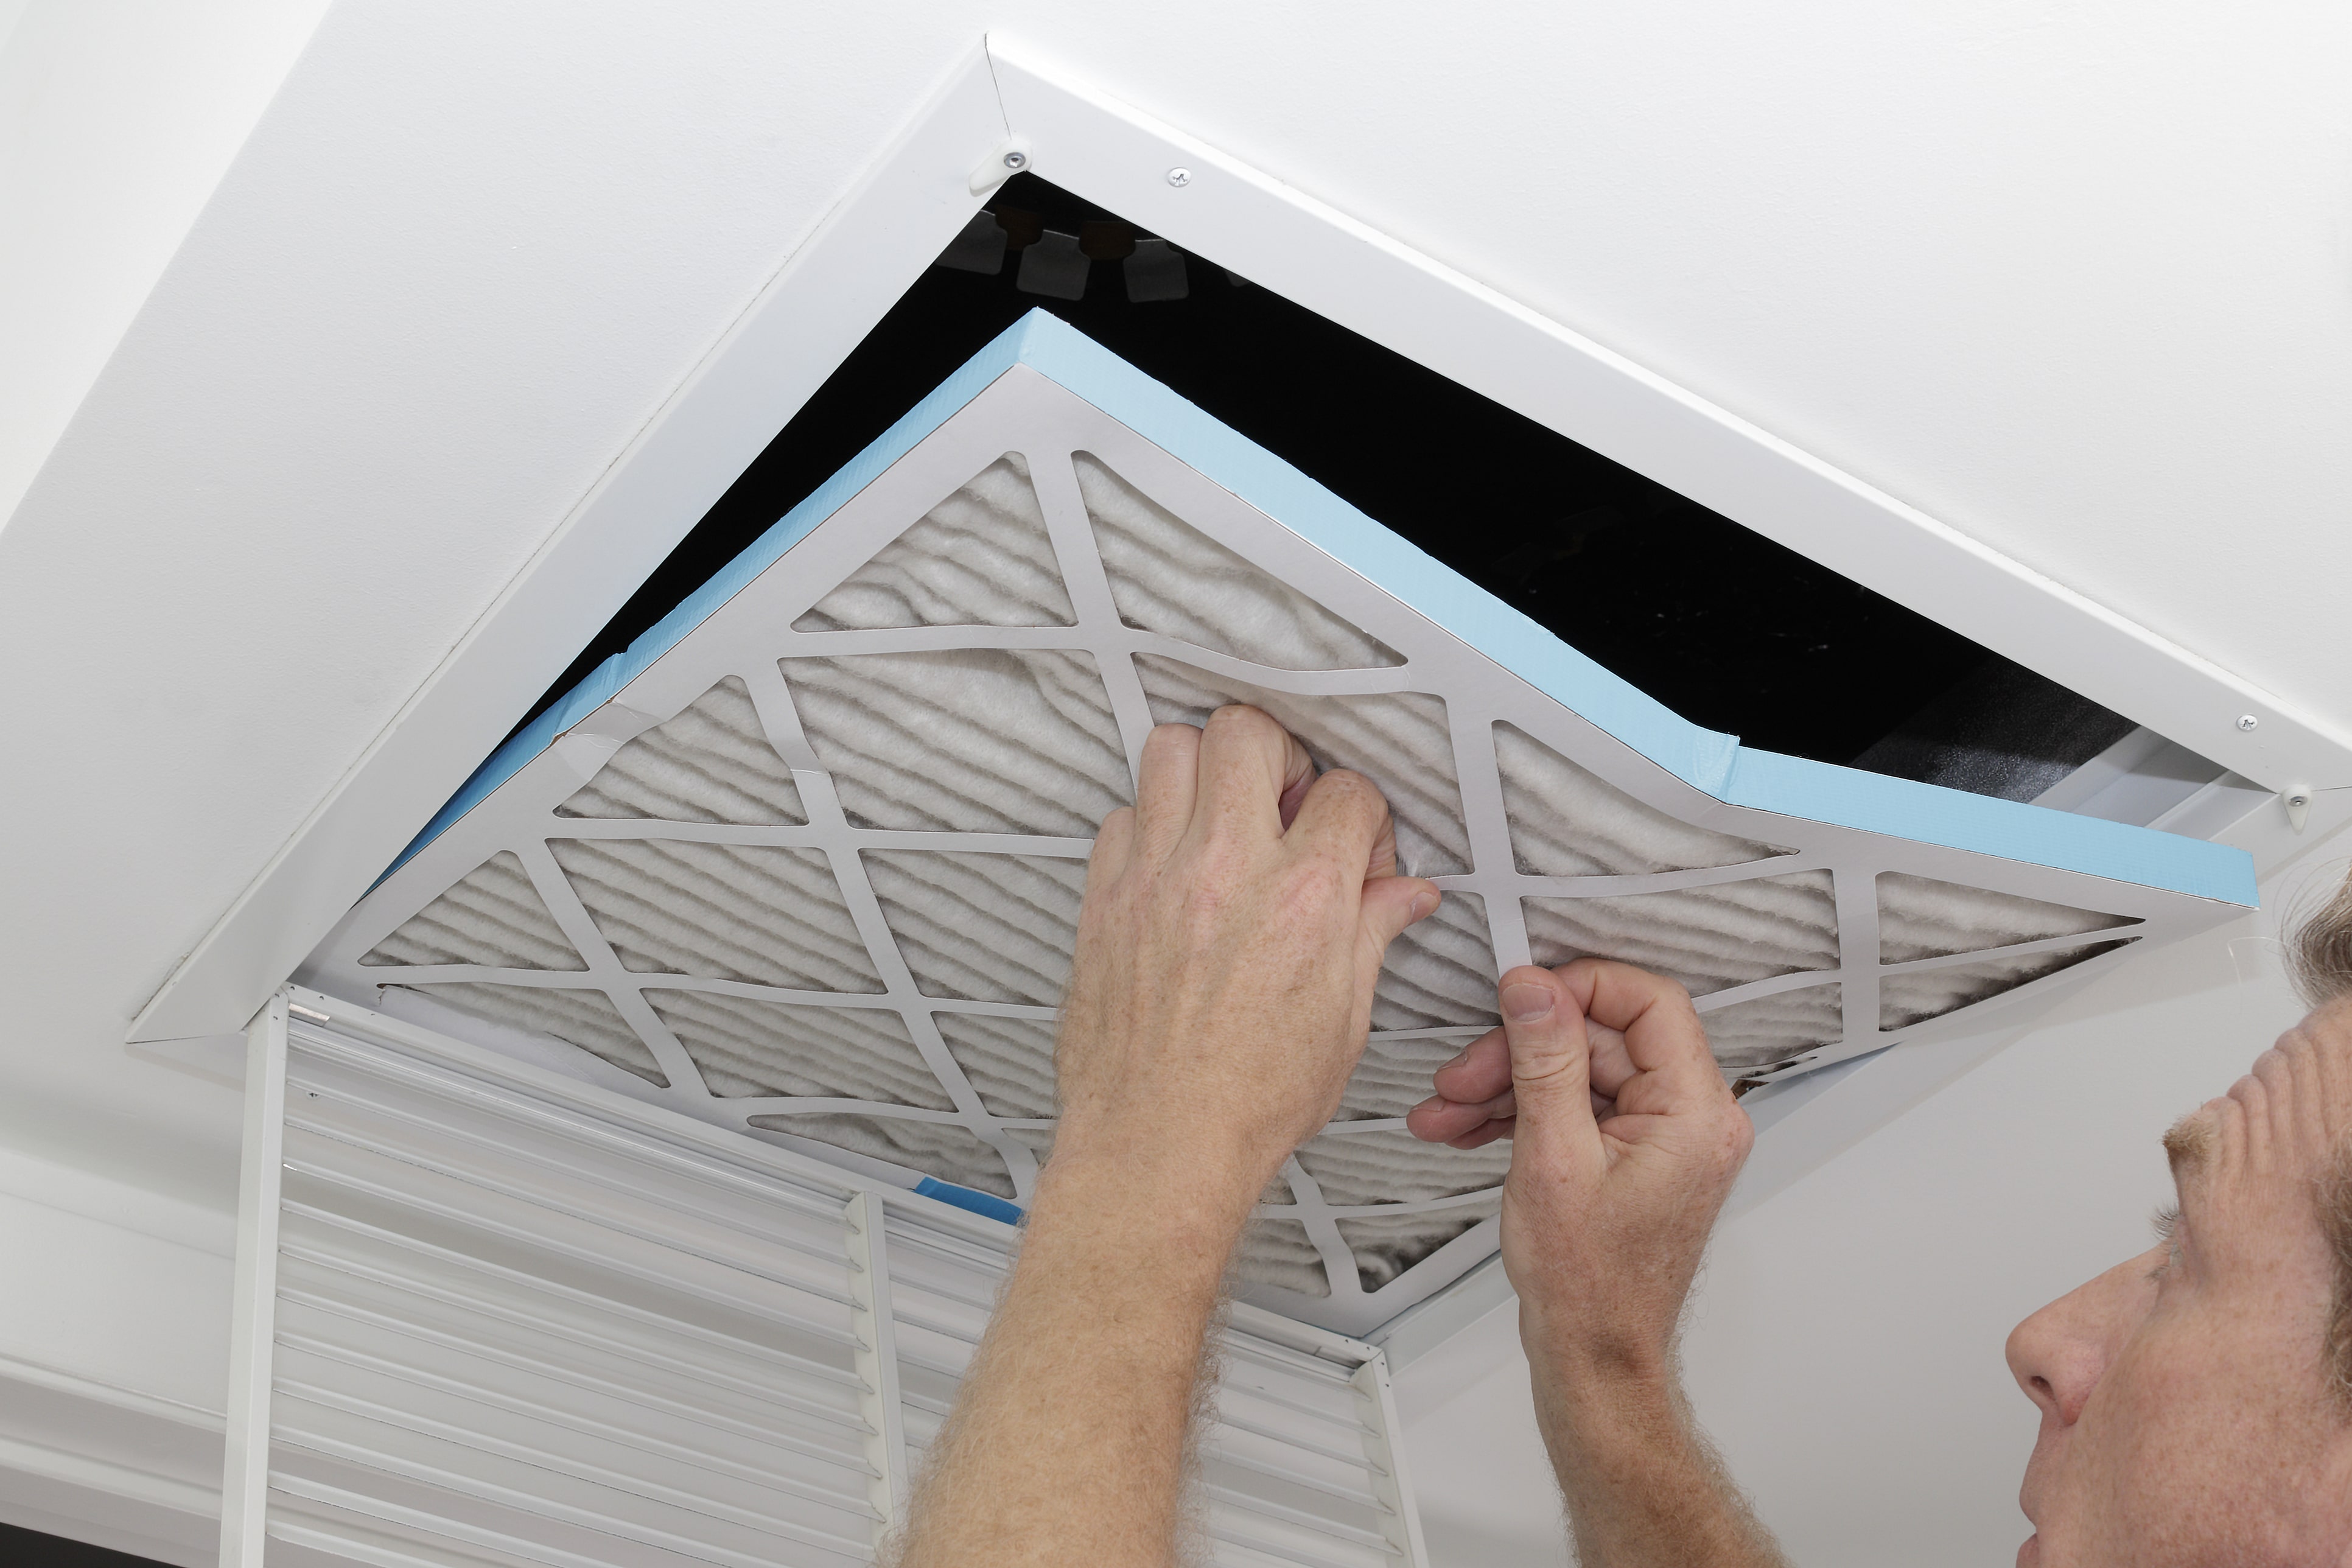
- Locate your Filter
To start, consult the owner's manual for your heating and cooling equipment. You should be able to find out from this manual what sort and size of filter is suggested for your heating and cooling system.
Most air filters, if you don't have your unit's operation manual, are either incorporated into the metal ductwork just before the blower fan, or the blower compartment of the furnace.
Some of these systems have filters that may be rinsed in the sink or bathtub or removed with a hose. Others employ non-reusable fiberglass filters.
Determine the Size of your Home Air Filter
Verify that the size of the air filter to purchase is specified in your manual. If not, check the measurements of the current filter, which are often printed on the cardboard filter frame. If you are unable to find this information, measure the height, width, and thickness using a measuring tape or ruler.
Although the actual filter's width and length are predetermined by the size of your ductwork, you can occasionally add more cleaning power by acquiring more filter depth. For instance, your ductwork might allow you to buy a 20x30x10 filter; that extra inch of filter capacity can significantly improve the quality of the air you breathe.
Remove the Current Air Filter
Take note of the arrow indicating the proper air flow direction on the filter frame before removing your current air filter. Installing the new filter should be done in the same manner as doing so for the old one. Your HVAC condenser should be in the direction indicated by the "air-flow direction arrow" printed on the new filter (or more specifically; arrow pointed towards your fan unit).
It's a smart idea to mark the actual casing or ductwork with a permanent marker to indicate the direction of airflow. The filter size and airflow direction should be specified. To prevent spreading the dust, remove the old filter and drop it directly into a rubbish bag.
Every HVAC filter has a MERV rating that indicates how well it absorbs pollutants that enter your heating and cooling system. The MERV scale goes from 1 (least efficient) to 16 (extremely efficient). According to several research, medium-efficiency filters, in the MERV 7 to 12 range, provide the best value for money in terms of both allergen elimination and filter cost.
Place the New Air Filter in.
Again, pay attention to the arrow on the old filter frame, which indicates the right direction for air movement. To maintain the same airflow direction, remove the old filter and replace it. Home air filters are designed to only filter air coming from one way. This prevents them from collapsing or breaking apart when they fill up with dirt.
Turn the System Back on.
After changing the filter, be sure to turn the thermostat to the "on" setting. Your furnace is all set to be used again.


